
A typical example of professional 8x10 view camera... In this case, a Toyo.
Since the earliest days of my photographic experimentation, I have ardently insisted that the highest form of photography comes from physical mediums (film). I was very dismissive about digital photography; It lacked the patience, the tactile nature and the "soul" of shooting and developing film.
Despite my stance on the matter, my own photographs never received any sort of special treatment to cement them as physical works. After exposure, my film was processed by professional laboratories and subsequently scanned by myself on consumer-level equipment at home. Ultimately, my negatives became nothing but pixels and data in the end, anyway.
Last year, I made a promise to myself that I would begin to think about photography in new ways. I vowed that I would take more photos with the intention of creating a tangible object as the end result. Of course, one doesn't simply decide to to create art and do so; Training and practice are necessary to obtain consistent results. Thankfully, I have a local establishment that offers just the kind of workshop I was in need of.
At the Art Intersection in Gilbert, I took a class and attended follow-up lab sessions to learn the tintype process. Briefly, shooting tintypes involves coating a metal surface with a light-sensitive material, resulting in a one-of-a-kind positive print that can be created in just a few minutes. It's a great process with tons of character, although it definitely takes some skill and mastery.
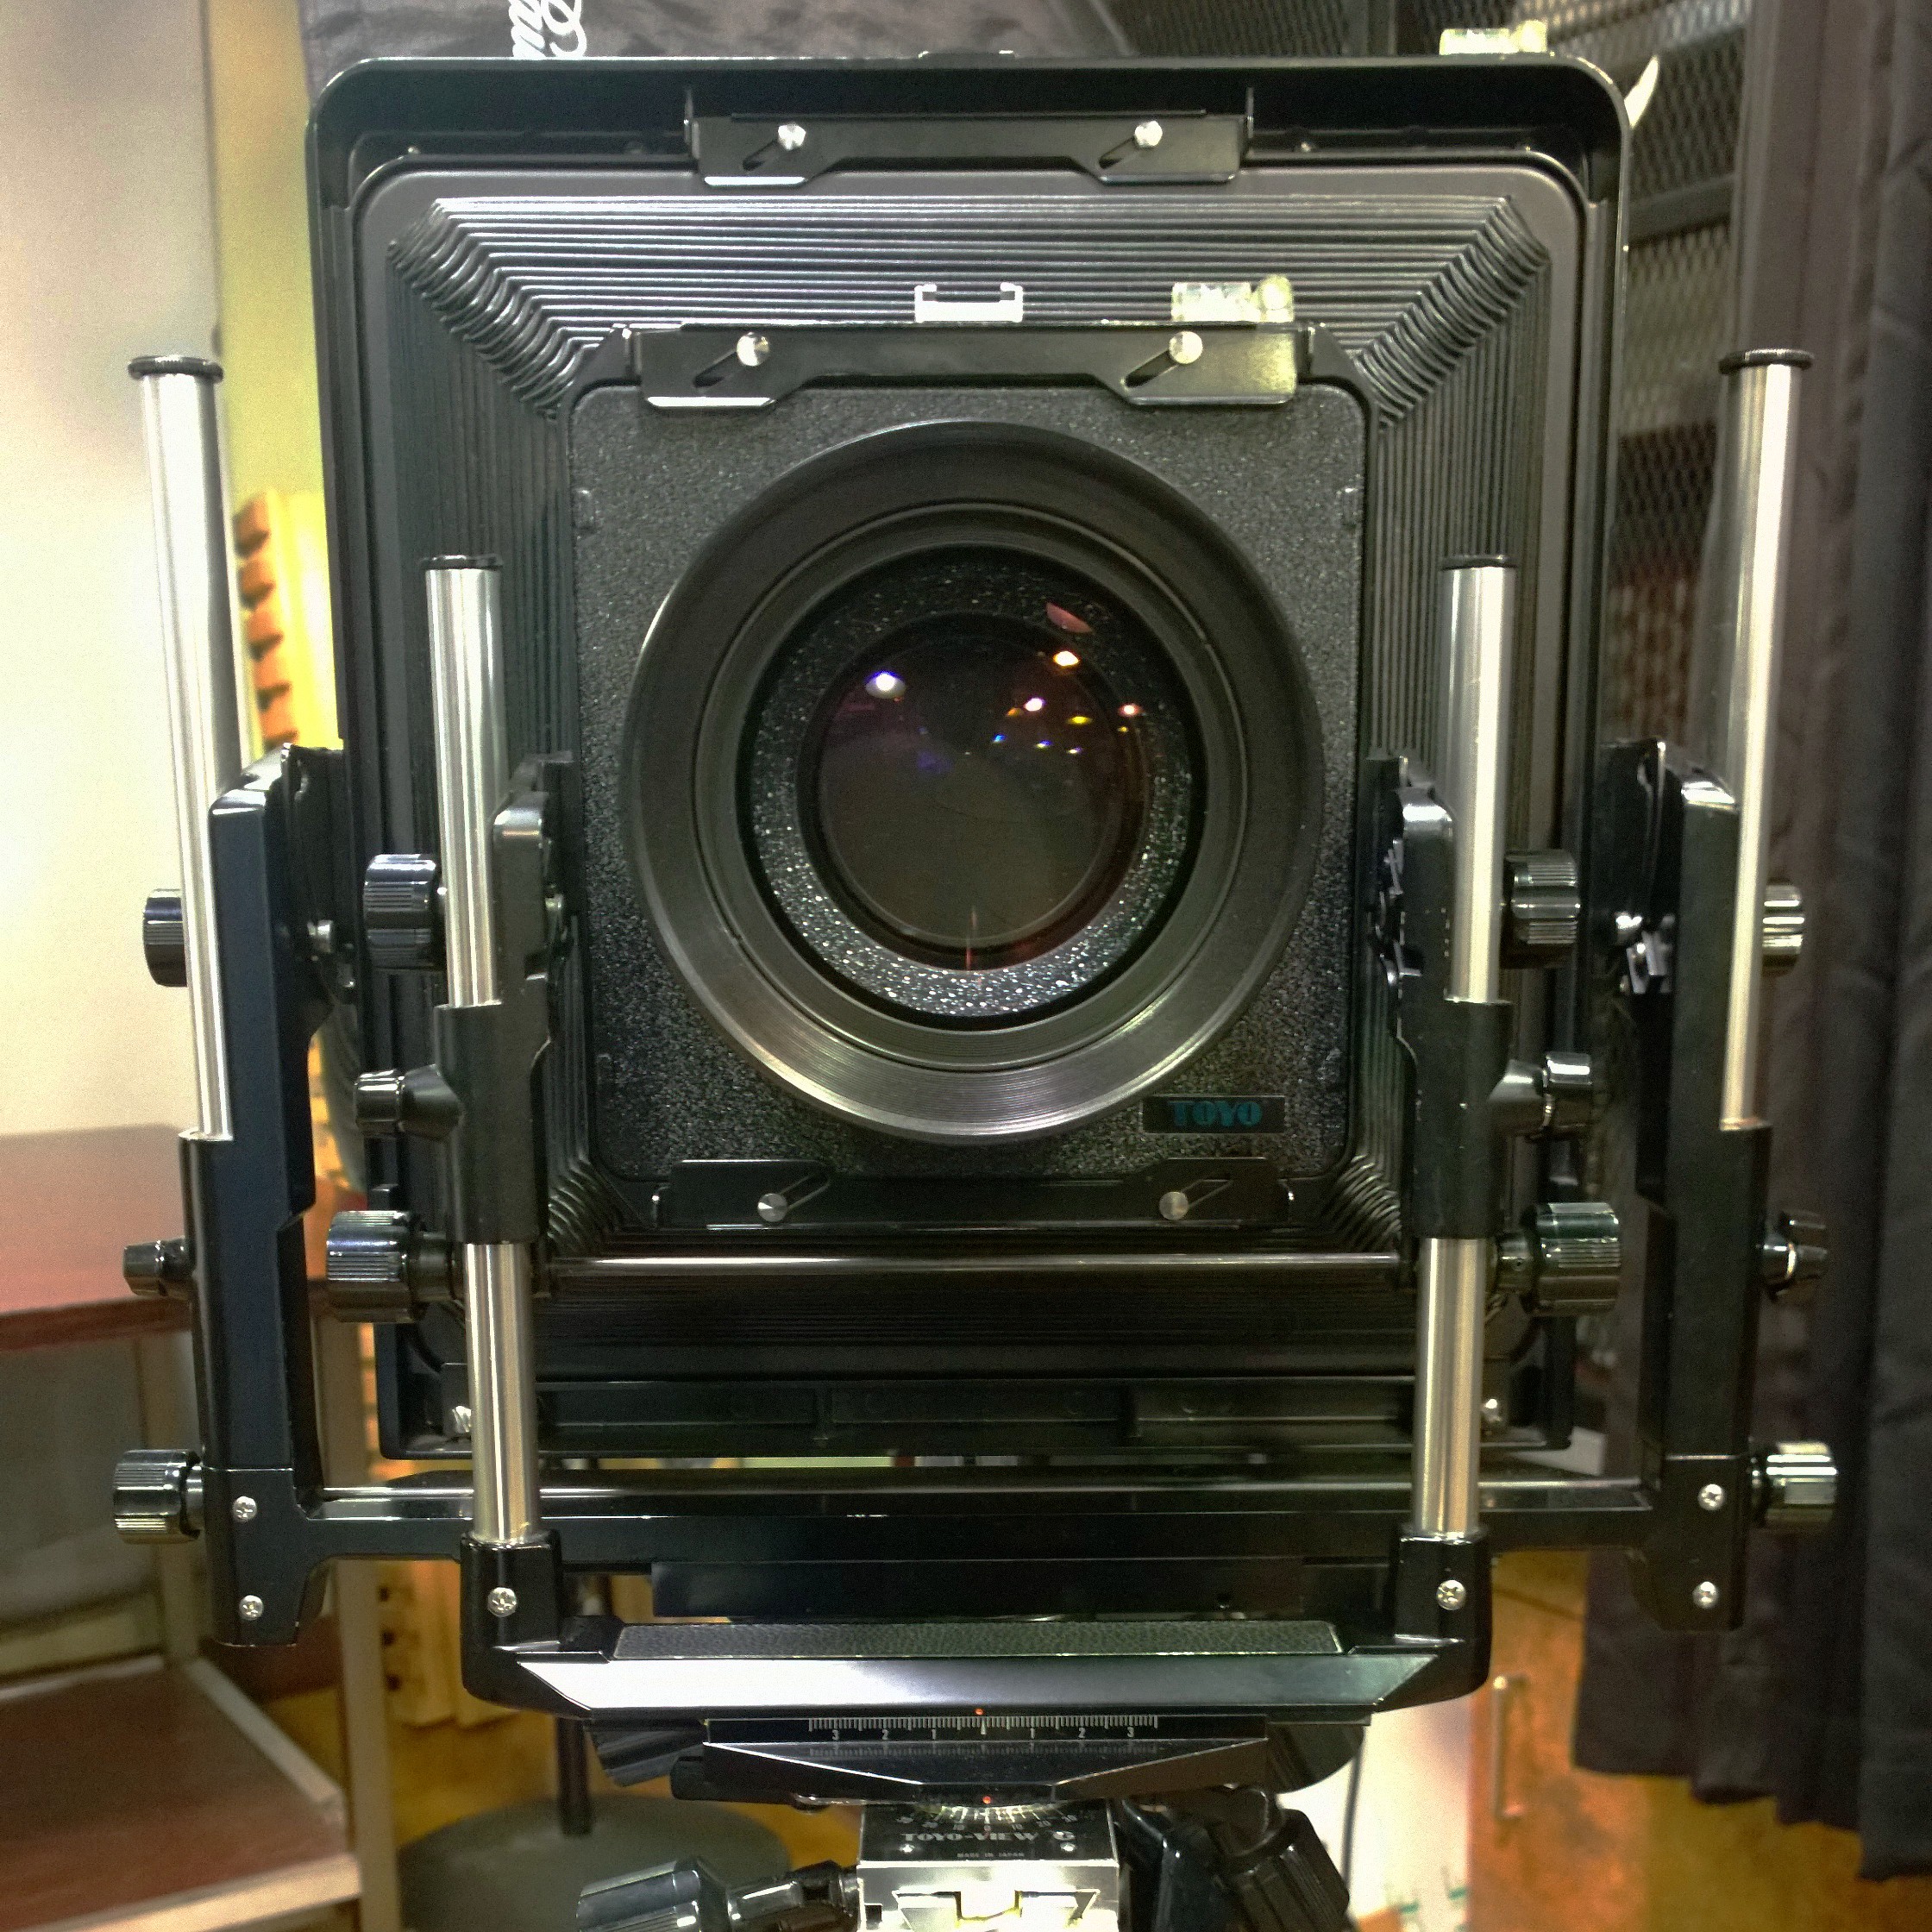
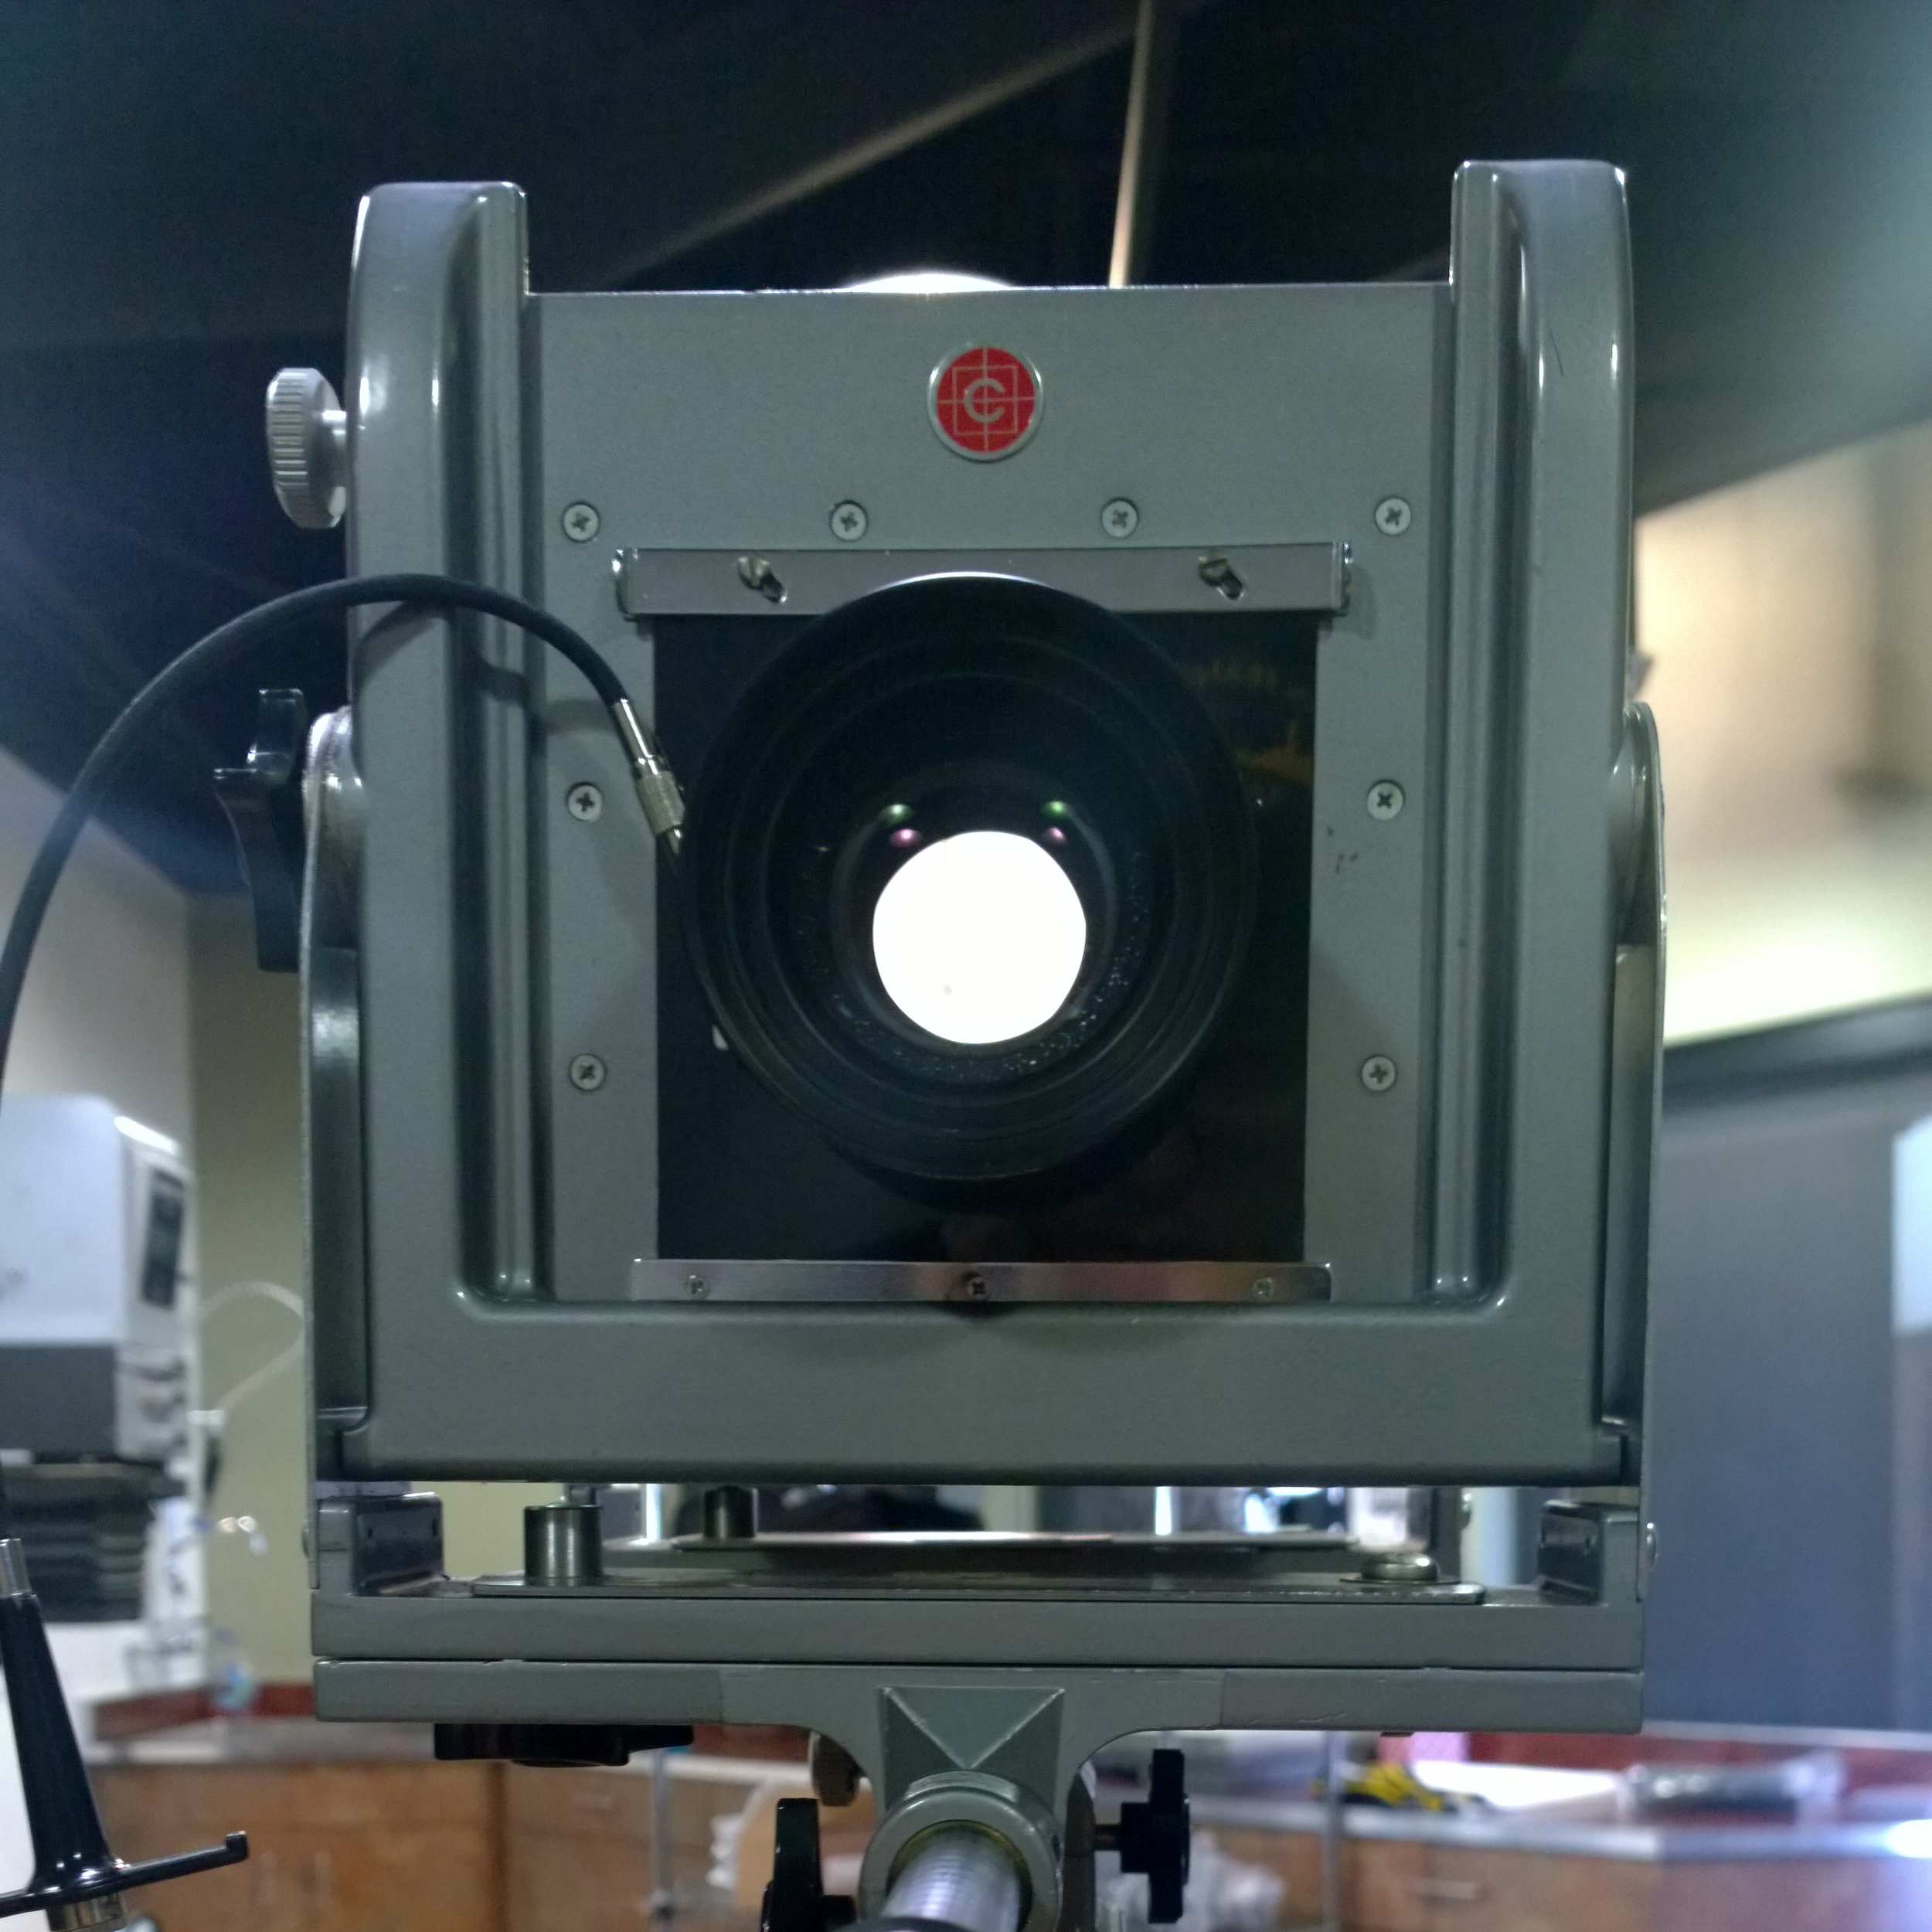
Technically, you can use a wide variety of metals as receiving surfaces, and you can customize many types of cameras to shoot tintypes. The simplest and most common approach right now is to cut aluminum to 4x5 or 8x10 and shoot these plates in large format view cameras like the ones pictured above.
The tintype process requires a lot of patience and precision. The chemicals must be precisely mixed and stored/used at specific temperatures for optimal results, and every step in exposure, development and finishing can be a trial. There are many chances for imperfections to appear on the final print, but that is part of the aesthetic and the quality of the process that some people appreciate.
First, one must set up the scene or portrait and any necessary lighting. A composition is created and the camera is prepared to shoot, and then it's time to coat the tintype plate. It goes without saying that the majority of the process happens in the darkroom, or at least under red safe-light. For the first step, though, plates are cut to size and cleaned in normal lighting. Collodion is then poured onto the plate and spread evenly, ensuring that there are no gaps in coverage. This task, in particular, was very difficult for me and resulted in the most obvious blemishes in my images.

Large format cameras are focused through a ground glass screen.
After coating, the lights are turned out and red safe lights must be employed. The plate is dipped into a silver nitrate bath, which makes the tintype light-sensitive. After a few minutes, the plate can be removed from the silver and should be cleaned so that there's no buildup of excess collodion at the edges. It's loaded into a specialized holder for the large-format camera at that point.
With the prepared tintype at hand, the photographer re-checks composition and focus, then loads the plate and shoots the image. This should happen within a few minutes' time, as the chemicals can dry out or evaporate in hot temperatures. Once the exposure has happened, the photographer returns to the darkroom and developer is poured onto the plate. Just as with the collodion, it's important to coat the plate completely and distribute the chemical evenly.
The image should begin to appear within seconds. The photographer monitors the highlights in the image and decides when to cease the development by putting the plate into a stop bath, which neutralizes the chemicals. Finally, the exposed plate is put into a fixer, and finally a water wash.

A tintype sits in the wash after developing.
The most important step to sealing the image permanently is to apply varnish. Both the plate and the varnish must be sufficiently heated to approximately the same temperature, but beware - if the varnish gets too hot, it can explode! Hey, safety not guaranteed in working with vintage photographic processes. Everything is radioactive, toxic or otherwise volatile.
I particularly enjoy this portion of the process because the varnish basically makes type smell like lavender. Even plates that I've shot last year retain the pleasant aroma.

The plate is heated above a hot plate to prepare it for varnishing.
I'm far from mastering this process, and I'm not anywhere close to creating perfect prints. That's fine by me; I rather enjoy the imperfections that give tintypes their character. That which is inherent to the process, and that which shows the artist's hand, is always welcome in my work.
I should add that as of yet I do not know the recipes to mix the collodion chemistry. Still, I'm pleased to have had TWO opportunities to shoot and develop tintypes with Art Intersection, and I can see definite improvement in my work this time around, especially considering that this was my first time working in the 8x10 format (with film or otherwise). In practice, the process is the same for 4x5 and 8x10, but the large plates are a bit more cumbersome to work with.

My first tintype, created at an Art Intersection workshop in the summer of 2014.
This time around, I decided to shoot two 8x10 portraits. I knew, in my head, that I wanted to experiment with shallow depth of field and try a tight, close portrait. I had a hell of a time pouring the collodion on my first plate, and you can definitely see some unevenness and obvious blemishes that occurred during the development process.
My second plate was much more successful from start to finish. I was beginning to get more comfortable working with the chemistry by this point. I pulled back a little for the framing of the second photo as well. Unfortunately, either the camera or the subject shifted a bit during exposure so the focus is slightly further back than I had wanted.

My first of two plates for the weekend. Minor adjustment to exposure.

My second of two plates for the weekend. No exposure compensation.
All challenges considered, I'm pleased with the results that I was able to achieve after just four attempts at working with tintypes. Are you interested in learning wet plate photography? Check out your local labs and studios to see who may offer classes in your area. There are also numerous resources available online.
I can't properly convey the satisfaction that comes from creating a physical object in the studio and darkroom. It can best be subscribed as sorcery, witchcraft, alchemy or magic. Tell me about your experiences with tintypes!